


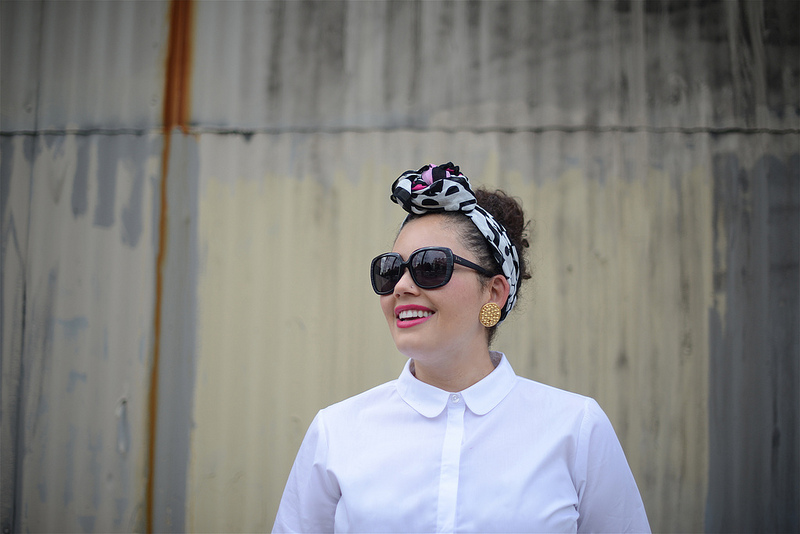
You may have seen this post a couple weeks back, where I introduced my latest creation: the scarf bun. After receiving lots of requests for a tutorial (including having to teach my little sister, pictured above), I put together a quick tutorial:
Step 1 :: Start with your hair in a top knot or bun, whichever you prefer. Using a rectangular shaped scarf,
fold long ways until it’s three inches wide.
Step 2 :: Place scarf around back of head, holding the two loose ends in front.
Step 3 :: Tie loose ends (as if you’re tying a shoe) on the hairline.
Step 4 :: Make a knot.
Step 5 :: Twist loose ends of scarf, one over the other, until you have one long twist.
Step 6 :: With one hand holding the end of the twist and one hand holding the knot, form the twist into a cinnamon roll-esque shape, wrapping in a circular motion until there’s no excess fabric. Tuck the loose end underneath the bun anywhere it fits and stays tucked in securely.
Step 7 :: Adjust the placement of the headband by pushing back a bit from the hairline and adjust to either side, depending on where you want the bun placed.
Note :: The technique shown is for tutorial purposes, so it’s very precise, giving you a perfectly shaped bun. However, if you twist the ends of the scarf loosely or wrap the bun loosely, you’ll achieve a look similar to the one I shared in the post. If you wrap loosely and adjust the bun to sit slightly off to the side, you’ll achieve a look similar to my sister’s, pictured above.
Have fun making it your own!



TAGS: hair tips, head scarves