Out of all the ways to pamper yourself, a manicure may be one of the quickest and easiest, especially if you’re willing to try your hand at DIY. While a clean nail or solid polish is always a classy bet, not all nail art is over-the-top. In fact, some designs are really sophisticated and easy to apply – a great solution if you love a fresh nail look but don’t always want to opt for a regular polish change.
Here are three easy DIY designs to try for a fresh, fun look that’s also professional enough to wear to work and upscale events. You don’t need to be an artist to pull them off — just choose some fun polish colors, grab your top coat, get some nail tape + a makeup wedge off Amazon. And most of all, have fun!

1. Choose a nude polish and a darker color, like navy, black, or maroon.
2. Paint the nude color on the entire nail and allow to dry completely.
3. Use the French manicure guide tape to section off the very top of your nail bed, at the half moon area.
4. Paint the open area with the darker polish and allow to dry.
5. Seal the entire nail with top coat.
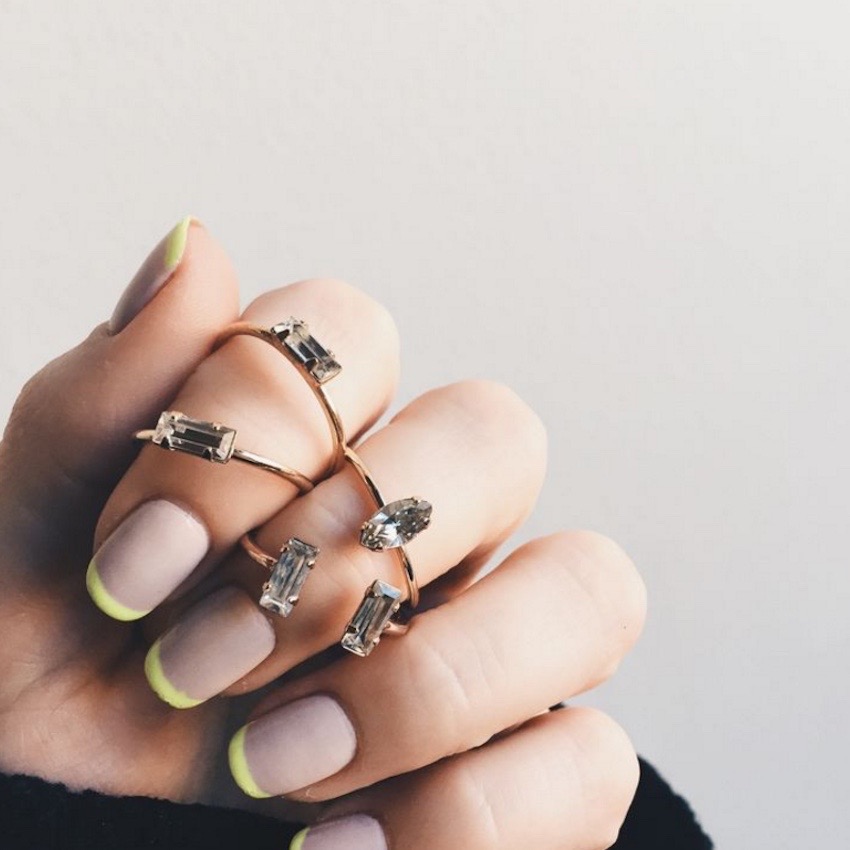
1. Choose two different polish colors: one neutral and one neon.
2. Paint the neutral color on as a base coat and let it dry completely.
3. Then, use one strip of polish-safe French manicure guide tape to make an arched “stencil” just over the white tips of your nails. This will help you paint consistent-looking tips onto all of your fingers.
4. Use the neon polish to fill in the tip of the remaining tip of the nail and seal with top coat.
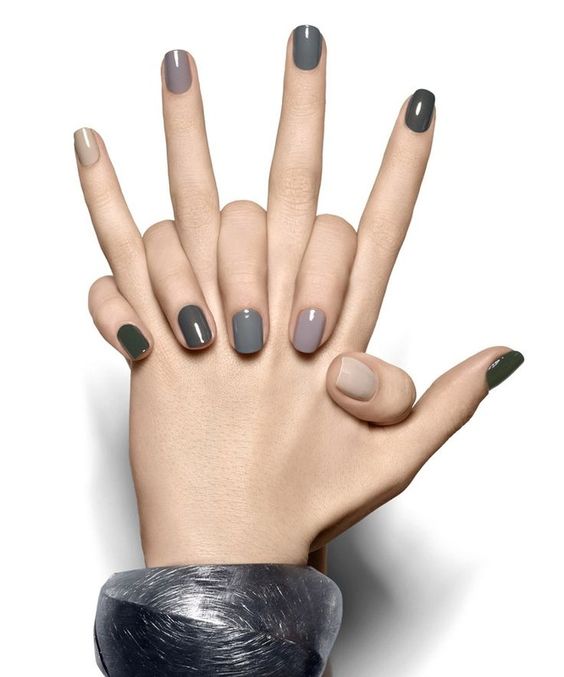
1. Choose five different nail polish shades within the same color range — I’m loving neutrals, so to recreate this look, you’d choose three shades of gray and two beige tones.
2. Starting at your pinky on the left hand, paint each nail a different shade in the gradient, starting with the lightest shade on your pinky and building up to the darkest on your thumb.
3. Do the same thing on your other hand, but this time, start with the lightest shade on your thumb and move to a darker shade on your thumb.
4. Let the polish dry and seal with a clear top coat.
Image Sources: Pinterest





TAGS: manicures, nail art, nails